AI 影片測試
AI 影片測試
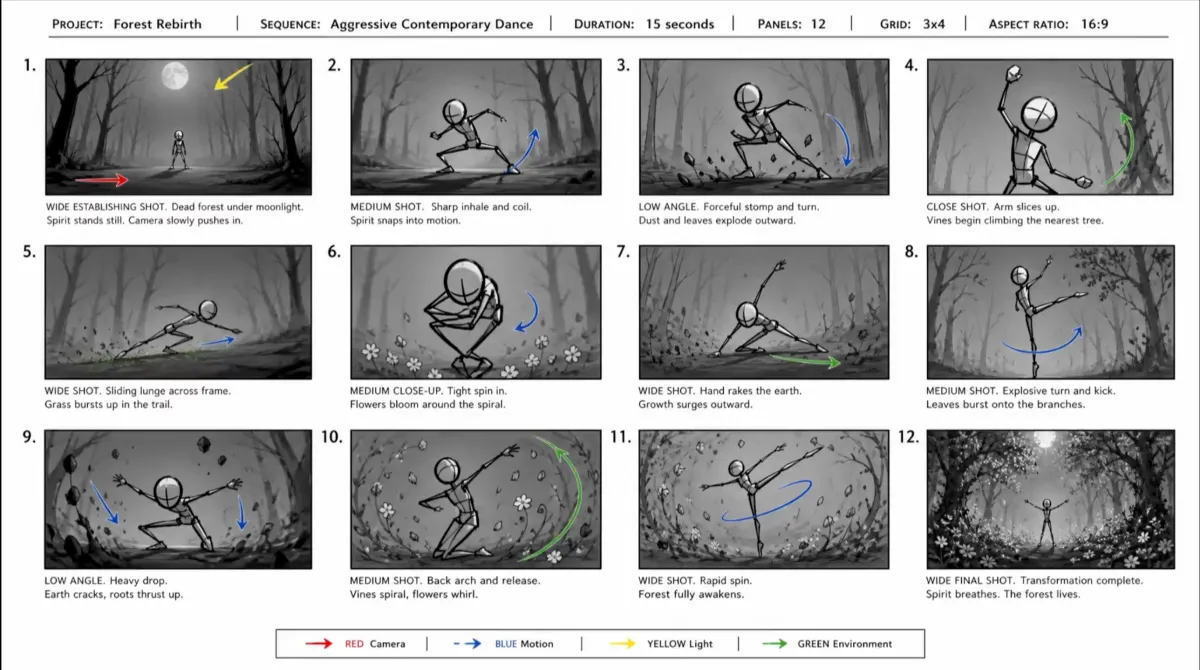
Turn a script, shot list, or simple scene idea into a multi-panel storyboard image online. Start from text, upload a visual reference, or choose an example to load its prompt and adapt the characters, actions, camera shots, layout, and drawing style to your project.
Examples
Explore AI-generated storyboard examples for different stories and visual styles. Select an example to load its complete prompt into the generator, then replace the subject, action, setting, panel count, or art direction before generating.
Create
Use the AI story board generator to explore a sequence before you commit to filming, animation, or individual video clips.
Arrange key story beats, character actions, and camera choices before producing separate scenes or AI video clips.
Test character poses, visual jokes, transitions, and scene progression in anime, 3D animation, cartoon, or pencil-sketch styles.
Divide a process into ordered visual steps, including detail shots, action notes, and a clear final result.
Plan poses, formations, movement direction, and changes in framing across a performance, chase, or fight sequence.
What it is
An AI storyboard generator is an image-generation tool that turns a written scene sequence or visual reference into a single image containing multiple ordered panels. Each panel represents a moment, action, composition, or camera view that helps communicate how a story could progress.
On GPTProto, you can begin with a text prompt or combine an uploaded image with written instructions. The examples on this page are reusable prompt templates: selecting one loads its prompt into the generator so you can adapt the subject, setting, sequence, layout, and rendering style.
The output is a generated storyboard sheet rather than a timeline of separately editable frames. Treat it as a concept and planning reference. Check panel order, character appearance, hands, props, captions, and shot details before using the result in a presentation or production workflow.
t2i or i2i
Choose the input method that matches the material you already have.
Text to Image: Describe the complete storyboard without uploading a source image. Include the story premise, recurring character details, setting, number of panels, grid arrangement, visual style, and the action or camera view required in each panel.
Image to Image: Upload a character design, location, pose reference, style reference, or existing storyboard and explain how it should guide the new result. State which visible details should remain recognizable and which parts of the story, layout, action, or art direction should change.
Start from an Example: Select a finished storyboard on this page to load its full prompt. Keep the useful structural instructions, then replace the example's characters, actions, locations, captions, and style with your own concept.
Prompt
The prompt gives the image model both a page-level structure and a sequence of individual story beats.
Page Structure: Specify the total panel count, column and row arrangement, reading direction, borders, gutters, title area, captions, and overall image ratio.
Continuity Anchor: Repeat the defining details of recurring characters, costumes, locations, and props so the sequence has a clearer visual connection.
Shot Sequence: Assign one principal moment to each numbered panel. Move from an establishing image to action, reaction, detail, transition, and payoff according to the needs of the story.
Visual Direction: Describe whether the sheet should look like pencil thumbnails, anime line art, cinematic photographs, grayscale production sketches, 3D animation, or another consistent treatment.
Because the complete board is generated as one image, small text, exact numbering, anatomy, and repeated details may need another attempt or a more focused prompt.
Customize
Start with a clear structure, then replace one group of details at a time.
Prompt Formula: Story premise + recurring character and setting + panel count and grid + visual style + panel-by-panel shot list + labels or production notes + consistency requirements + exclusions
Define the Story in One Sentence: State who the sequence follows, what they are trying to do, what changes, and how the sequence ends.
Create a Character Anchor: Fix the character's apparent age range, hairstyle, facial traits, clothing, body type, and signature props. Repeat the same description whenever the character appears.
Choose the Panel Count and Grid: Write an exact request such as “eight panels in a 4 × 2 grid” or “twelve panels in a 4 × 3 grid, read left to right.” The ratio of the complete sheet and the shape of each individual frame are separate choices.
Give Each Panel One Main Beat: Describe one visible action, reaction, reveal, or transition per panel. If a panel contains too many events, split the sequence across more frames or another storyboard sheet.
Vary the Shot Types: Mix wide, medium, close-up, overhead, low-angle, over-the-shoulder, or point-of-view compositions when they help explain space, emotion, or action.
Set the Drawing or Rendering Style: Keep one shared direction across the sheet, such as rough graphite thumbnails, clean anime line art, monochrome concept art, stylized 3D animation, or cinematic realism.
Request Only Useful Text: Use short panel numbers, shot names, actions, or timing notes. Long dialogue and dense production instructions are harder to render legibly inside a generated image.
Better
Clear constraints help the model produce a more readable sequence and make later revisions easier.
Open with Geography: Use an establishing panel to show where the characters and important objects are before moving into closer shots.
Keep Screen Direction Clear: Describe where characters enter, look, move, or exit so adjacent panels do not appear disconnected.
Repeat Important Details: Keep the same wording for recurring faces, hairstyles, wardrobe, props, colors, and environmental features.
Use References Selectively: Upload a clear image that shows the character, location, pose, or style you need. Explain what the model should borrow rather than expecting it to infer your intention.
Separate Action from Camera Notes: State what the subject does and how the frame observes it. For example: “The runner turns the corner; low-angle side tracking shot.”
Limit On-Image Text: Short titles and numbers are easier to check. If precise dialogue or technical notes matter, add them in your editing or presentation software after generation.
Review the Complete Sheet: Check the number and order of panels, recurring characters, hands, props, background geography, captions, movement arrows, and any duplicated or missing elements.
Revise One Variable at a Time: Keep the parts that work and change only the unclear action, camera angle, layout, character detail, or art direction in the next prompt.
Continue developing your storyboard characters, frames, and video clips with related GPTProto tools.
AI 影片測試

描述您心中構想的角色、服裝、姿勢、場景、氛圍與動漫美術方向。GPTProto 會將您的文字提示詞轉換為原創的動漫風格圖片,線上即可完成。
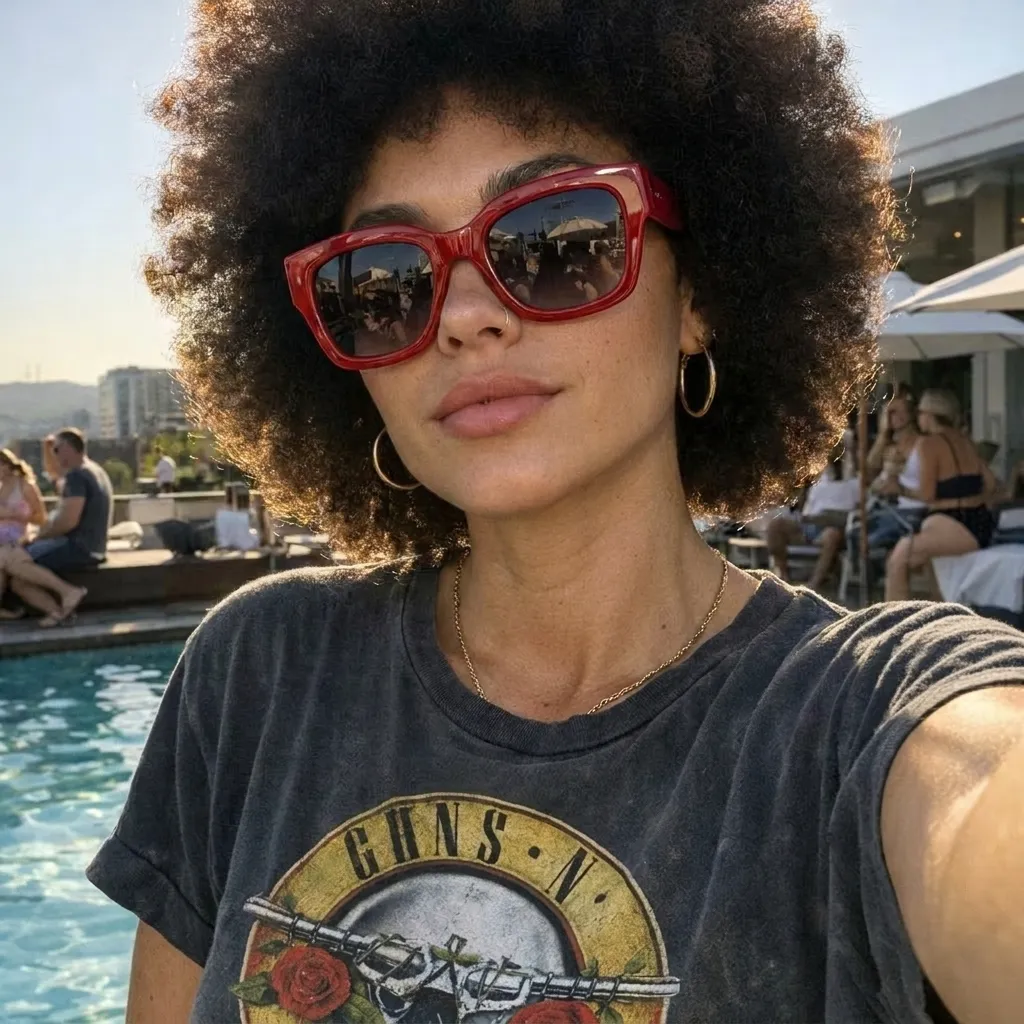

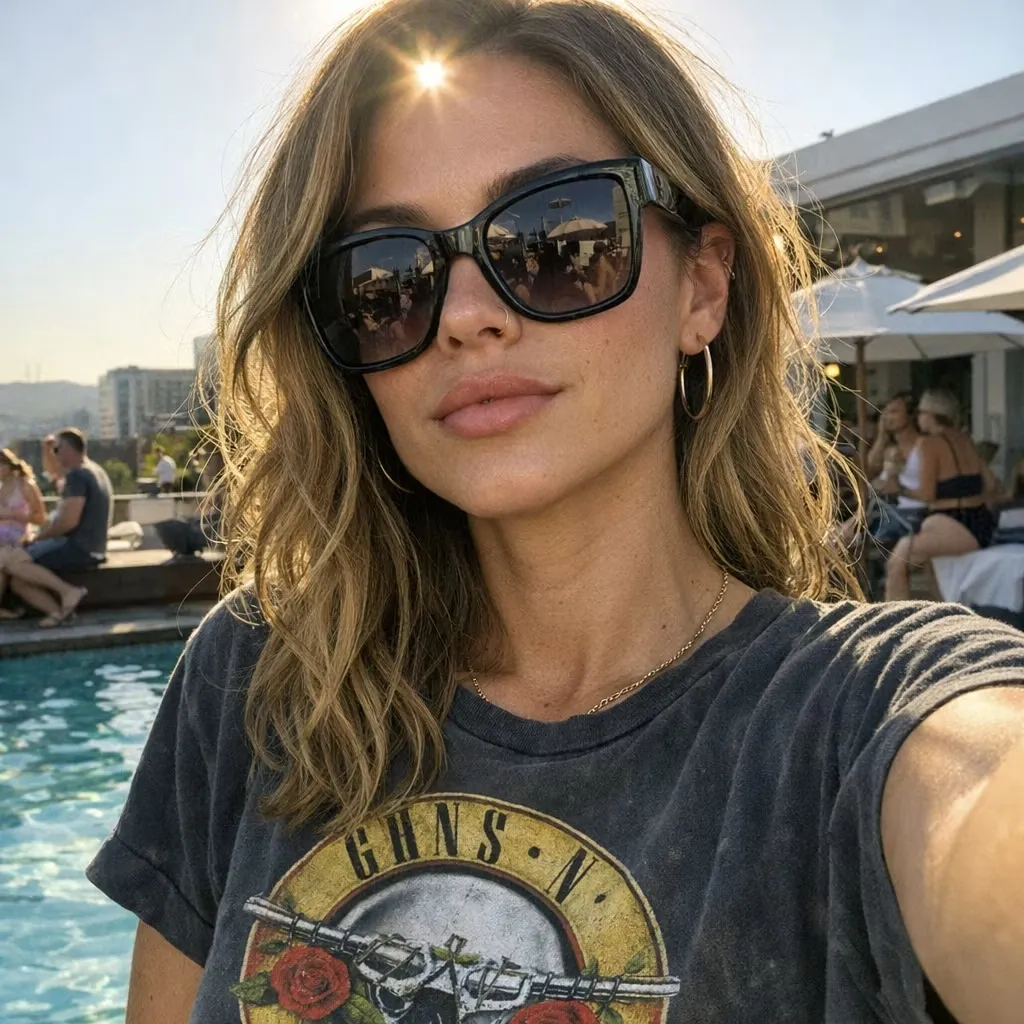
上傳照片、描述想要變更的內容,讓 AI 在線上編輯圖片。移除或替換物件、變更背景、調整光線、重新設計場景風格,並透過簡單的文字指示建立新變化版本。


使用 AI 將任何照片轉換成搞笑的滑鼠繪製 MS Paint 塗鴉。上傳人像、寵物、迷因、螢幕截圖或產品照片,取得粗糙、搖晃的 Microsoft Paint 風格作品——不需要撰寫提示詞,也不需要繪畫技巧。只需上傳並生成..

Compare 6 cheapest AI image generators in 2026, from about $0.0035 per image. See batch costs, hidden fees, and the best API for startups.

Learn how to make an AI story video for kids with GPT Image 2 and Seedance 2.5, including the full prompt, captions, sound, editing, and a real test.

Learn how to generate product images in bulk with GPT Image 2 API using Python, CSV files, safe concurrency, retries, Base64 decoding, and cost controls.

See Wan 3.0 vs Seedance 2.5 in three same-prompt film and ecommerce tests, with real 720p costs, audio differences, and clear use-case winners.
Use role-based cards here instead of fabricated reviews or star ratings.